
How to Flip an Image in Google Slides (Horizontally and Vertically)
Have you ever added an image to your Google Slides presentation, only to realize it’s facing the wrong direction or that the layout would look so much better if the image were mirrored? It’s a small problem, but it can throw off the entire visual balance of your slide.
The good news: Google Slides makes it easy to flip images both horizontally and vertically, no design experience required. Whether you’re building a business presentation, a classroom lesson, or a client pitch, knowing how to flip an image in Google Slides gives you more control over your slide design.
In this article, you’ll learn exactly how to flip images in Google Slides step by step along with tips for using this feature to create cleaner, more visually consistent slides. Let’s get into it.
What Does Flipping an Image Actually Do?
Before diving into the steps, it’s worth clarifying the difference between two actions that are often confused:
- Flip Horizontally — Mirrors the image along a vertical axis. Think of it as reflecting the image left-to-right, like holding it up to a mirror.
- Flip Vertically — Mirrors the image along a horizontal axis. The image appears upside down, as if reflected top-to-bottom.
These are different from rotating an image, which turns it at an angle. Flipping creates a true mirror image, which is useful for symmetry, design balance, and correcting the direction a subject is facing.
How to Flip an Image in Google Slides
Step 1: Insert Your Image
If you haven’t added your image yet, go to Insert > Image from the top menu. You can upload from your computer, search the web, pull from Google Drive, or use a URL.
Once the image is on your slide, click on it to select it. You’ll see blue selection handles appear around the edges.
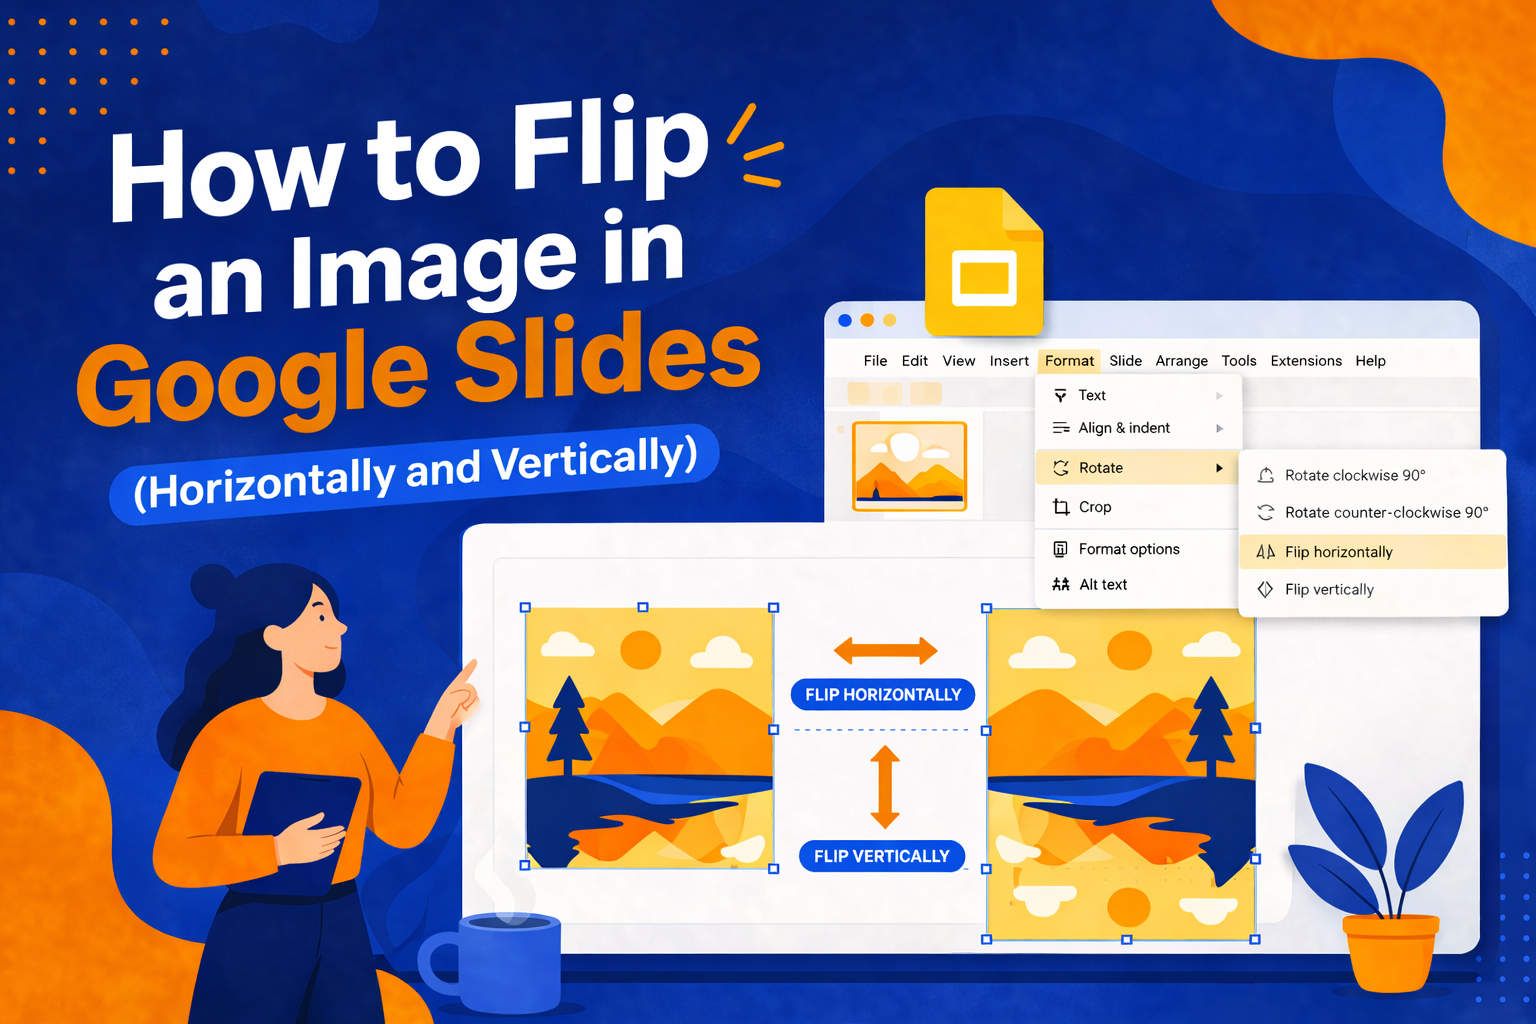
Step 2: Open the Format Options Menu
With your image selected, look at the top menu bar and click on Format. A dropdown menu will appear with several options.
Scroll down to find Rotate, and hover over it to reveal the submenu. This is where the flip controls live.
Step 3: Choose Your Flip Direction
In the Rotate submenu, you’ll see four options:
- Rotate clockwise 90°
- Rotate counter-clockwise 90°
- Flip horizontally
- Flip vertically
Click Flip horizontally to mirror the image left-to-right, or Flip vertically to mirror it top-to-bottom. The change applies instantly — no confirmation needed.
That’s it. Three steps, and your image is flipped.
How to Flip an Image Using Right-Click
Prefer working with a right-click menu? Google Slides supports this shortcut too.
- Click on the image to select it.
- Right-click on the image to open the context menu.
- Hover over Rotate.
- Select Flip horizontally or Flip vertically.
This method produces the exact same result and is often faster if your hands are already on the mouse.
Can You Flip Multiple Images at Once?
Yes and this is a handy time-saver when you’re working with several images that all need to be mirrored.
- Hold Shift and click each image you want to flip, or drag your cursor to select a group.
- Once all images are selected, right-click and go to Rotate.
- Choose your flip direction.
All selected images will flip simultaneously, maintaining their individual positions on the slide.
When Should You Flip an Image?
Knowing the how is useful, but knowing the when is what separates a polished deck from a messy one. Here are some practical scenarios where flipping images makes a real difference:
- Directional balance — If a person or character in the image is facing left, but you want them looking toward your text on the right, flip horizontally.
- Symmetrical layouts — When you want two images to mirror each other for a clean, symmetrical design.
- Correcting stock image orientation — Many stock photos have subjects facing a direction that doesn’t suit your layout. A quick flip solves this.
- Creating shadow or reflection effects — Duplicate an image, flip the copy vertically, reduce its opacity, and position it below the original for a subtle reflection effect.
- Logo alignment — If a logo or icon is pointing the wrong direction in context, flipping gives you the correct visual flow without needing to find a new asset.
Flipping vs. Rotating: Know the Difference
A lot of presenters mix these two up in Google Slides, so here’s a clear breakdown:
| Action | What It Does | When to Use It |
| Flip Horizontally | Mirrors left-to-right | Correct direction a subject faces |
| Flip Vertically | Mirrors top-to-bottom | Create reflection effects |
| Rotate 90° CW/CCW | Turns image at a right angle | Adjust image orientation |
| Free Rotate | Turns to any custom angle | Fine-tune tilted images |
For most design adjustments, flipping gives you a true mirror. Rotating is better when the image itself is sideways or tilted.
Tips for Working with Images in Google Slides
Once you’ve mastered flipping, here are a few more image formatting techniques worth knowing:
Crop to Shape
Select your image, click Format > Crop > Crop to Shape, and choose from dozens of shapes. This works beautifully for headshots in circular frames or icon-style visuals.
Adjust Brightness and Contrast
Go to Format > Format Options to access the Adjustments panel. You can tweak brightness, contrast, and transparency directly in Google Slides — no external editing tool needed.
Replace an Image Without Losing Positioning
Right-click your image and select Replace image. Google Slides will swap the image while preserving its size and position on the slide. This is especially useful when updating templates.
Use Alt Text for Accessibility
After selecting an image, go to Format > Alt Text and add a brief description. This improves accessibility for screen reader users and is a good habit for professional presentations.
Flipping Images in PowerPoint vs. Google Slides
If you work across both platforms, you’ll find the flip feature works similarly in Microsoft PowerPoint:
- Select the image.
- Go to the Picture Format tab in the ribbon.
- Click Rotate Objects in the Arrange group.
- Choose Flip Horizontal or Flip Vertical.
The main difference is that PowerPoint’s flip controls are in a dedicated Picture Format tab, while Google Slides nests them under the Format > Rotate menu. Both achieve the same result, and both support flipping multiple objects at once.
Free Templates to Get You Started
Knowing how to flip and format images is just one piece of building a great presentation. The other is starting with a well-designed template that gives your visuals the right foundation.
At SlidesDepot, you’ll find a wide range of professionally designed Google Slides and PowerPoint templates built for business, education, marketing, and more. Each template is fully editable, so you can swap in your own images — and flip them however you like.
Browse the full template library at slidesdepot and find a design that fits your next presentation.
Conclusion
Flipping an image in Google Slides is one of those small skills that makes a noticeable difference in your final design. Whether you need to mirror a photo for better visual flow or create a polished symmetrical layout, the process takes just a few clicks — no design software required.
The key is knowing where to find the controls (Format > Rotate), understanding when to use horizontal vs. vertical flips, and applying these techniques intentionally. Combined with a strong template, these small formatting moves can elevate the overall quality of your presentation significantly.
Ready to build something that looks great from the first slide? Browse free and premium templates at SlidesDepot and give your next presentation a head start.

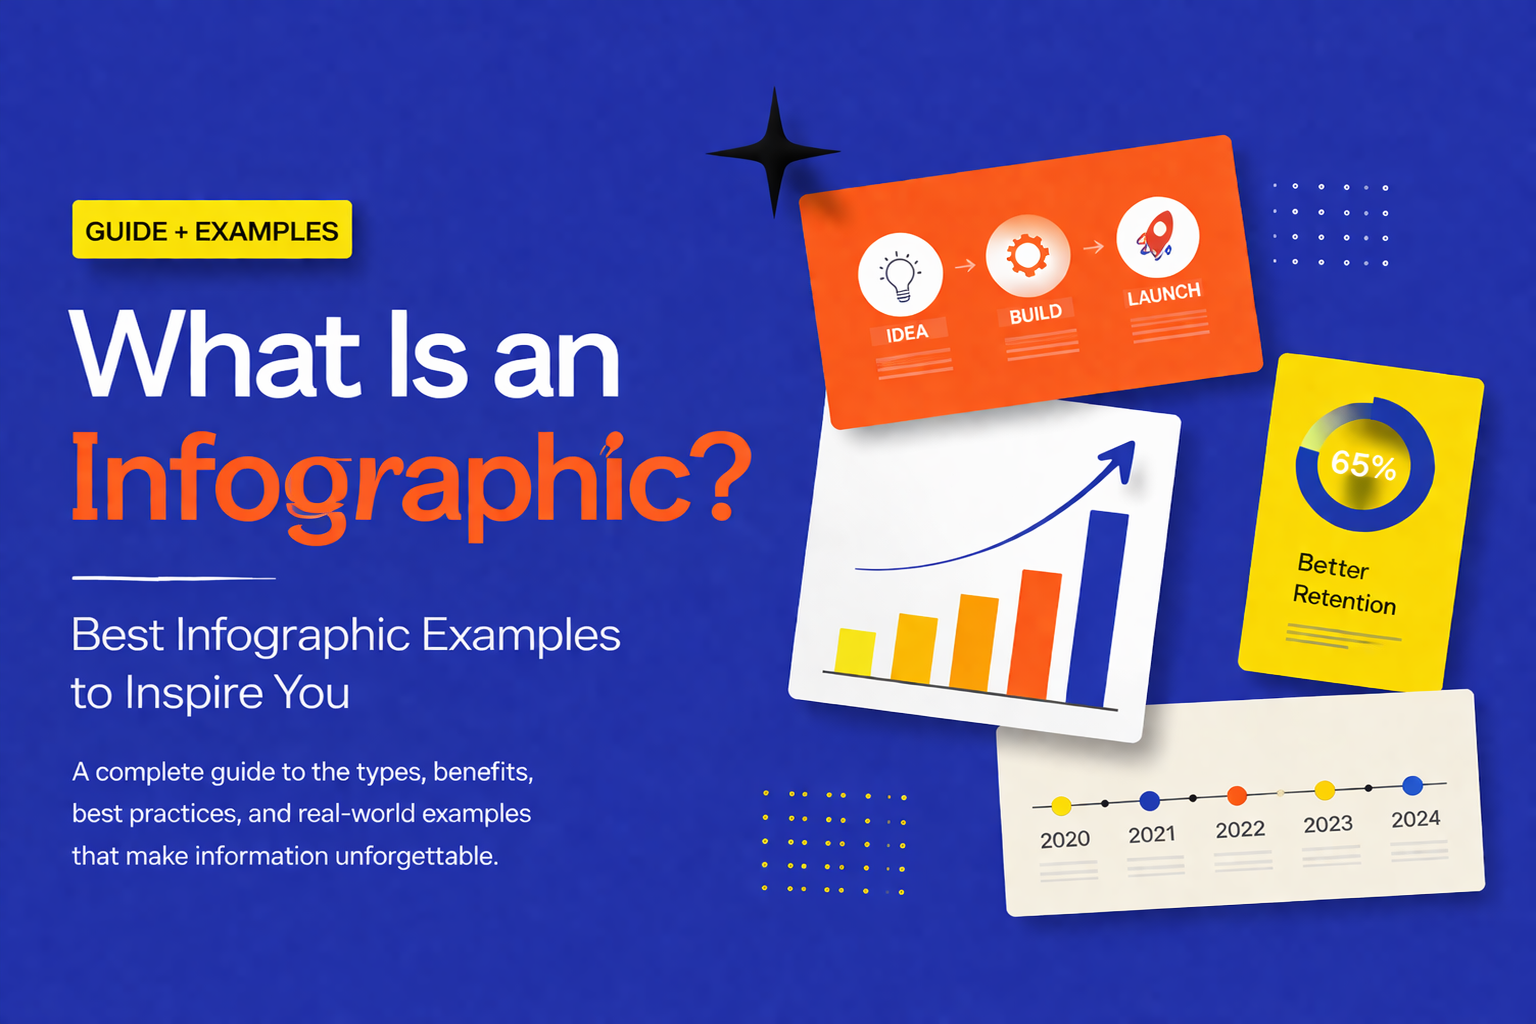
What Is an Infographic? Best Infographic Examples to Inspire You
You have a great idea, a strong dataset, or a complex process you need to explain but the moment you put it on a slide, it becomes a wall of text that nobody wants to read. This is one of the most common frustrations for presenters, marketers, educators, and business professionals alike. The problem is…
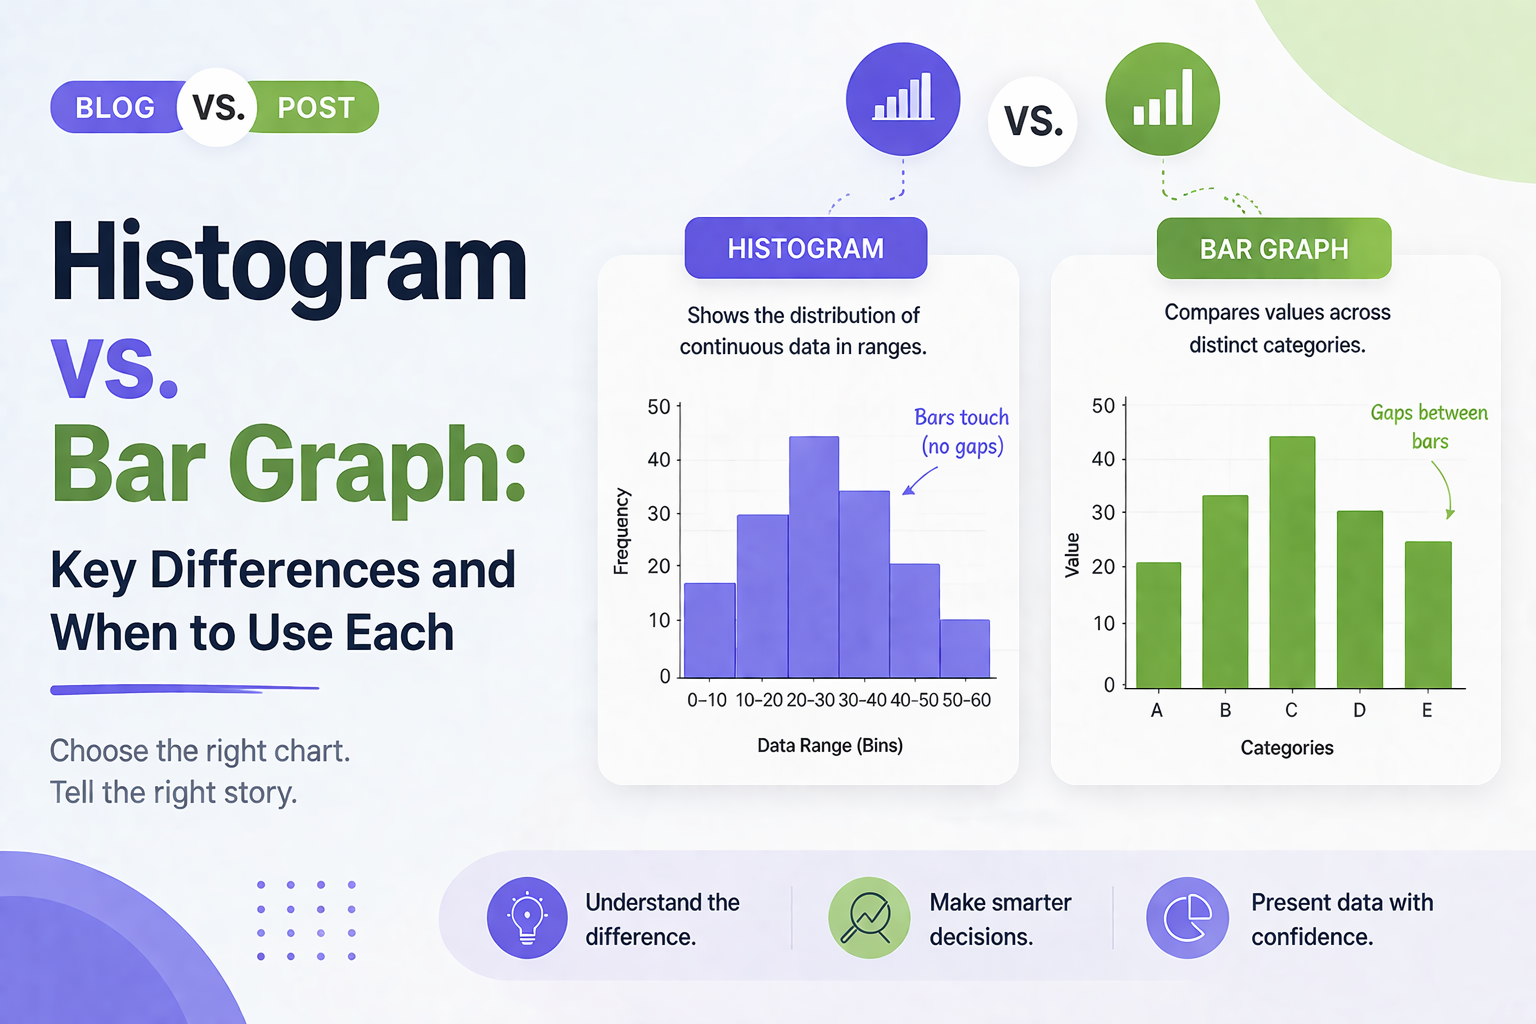
Histogram vs Bar Graph: Key Differences and When to Use Each
Histogram vs Bar Graph You have got data. You need a chart. You open PowerPoint or Google Slides and hover over the chart options. Then it hits you: should this be a histogram or a bar graph? They look almost identical, so it is easy to assume they are interchangeable. But they are not, and…
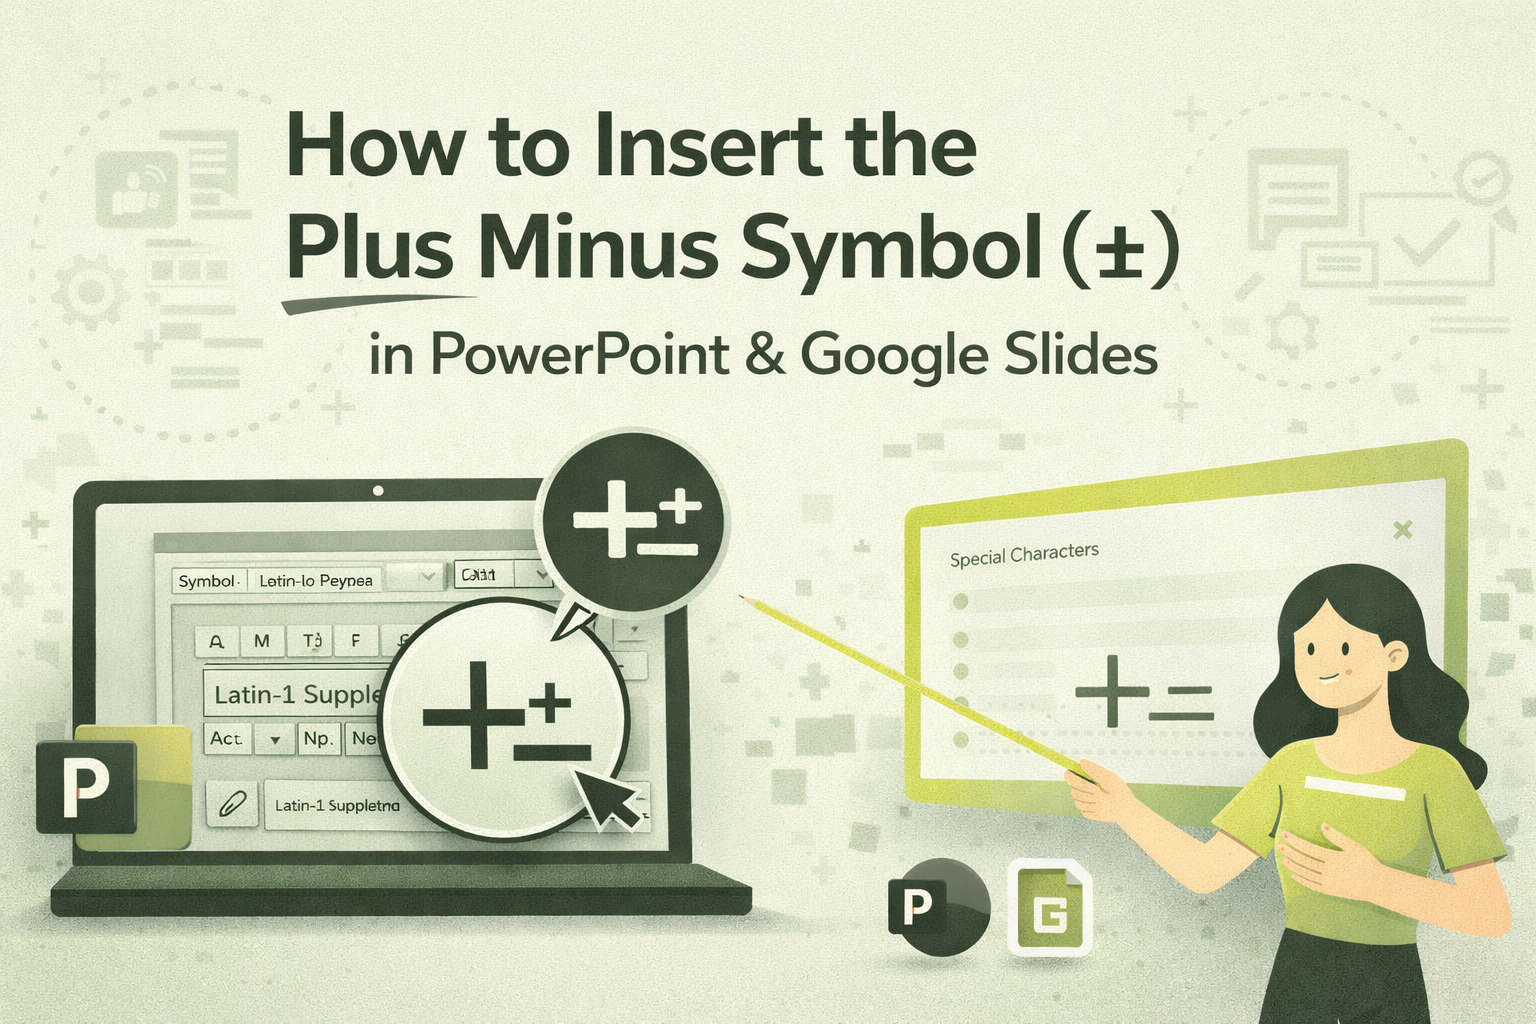
How to Use and Insert Plus Minus Symbol (±) in PowerPoint & Google Slides
How to Insert the Plus Minus Symbol (±) in PowerPoint & Google Slides You’re almost done with your slide deck. The charts look sharp, the layout is clean and then you realize you need the plus minus symbol (±). You scan your keyboard. It’s not there. So you start digging through menus, losing momentum, wondering…