


PowerPoint Transitions: How to Add and Customize Slide Transitions
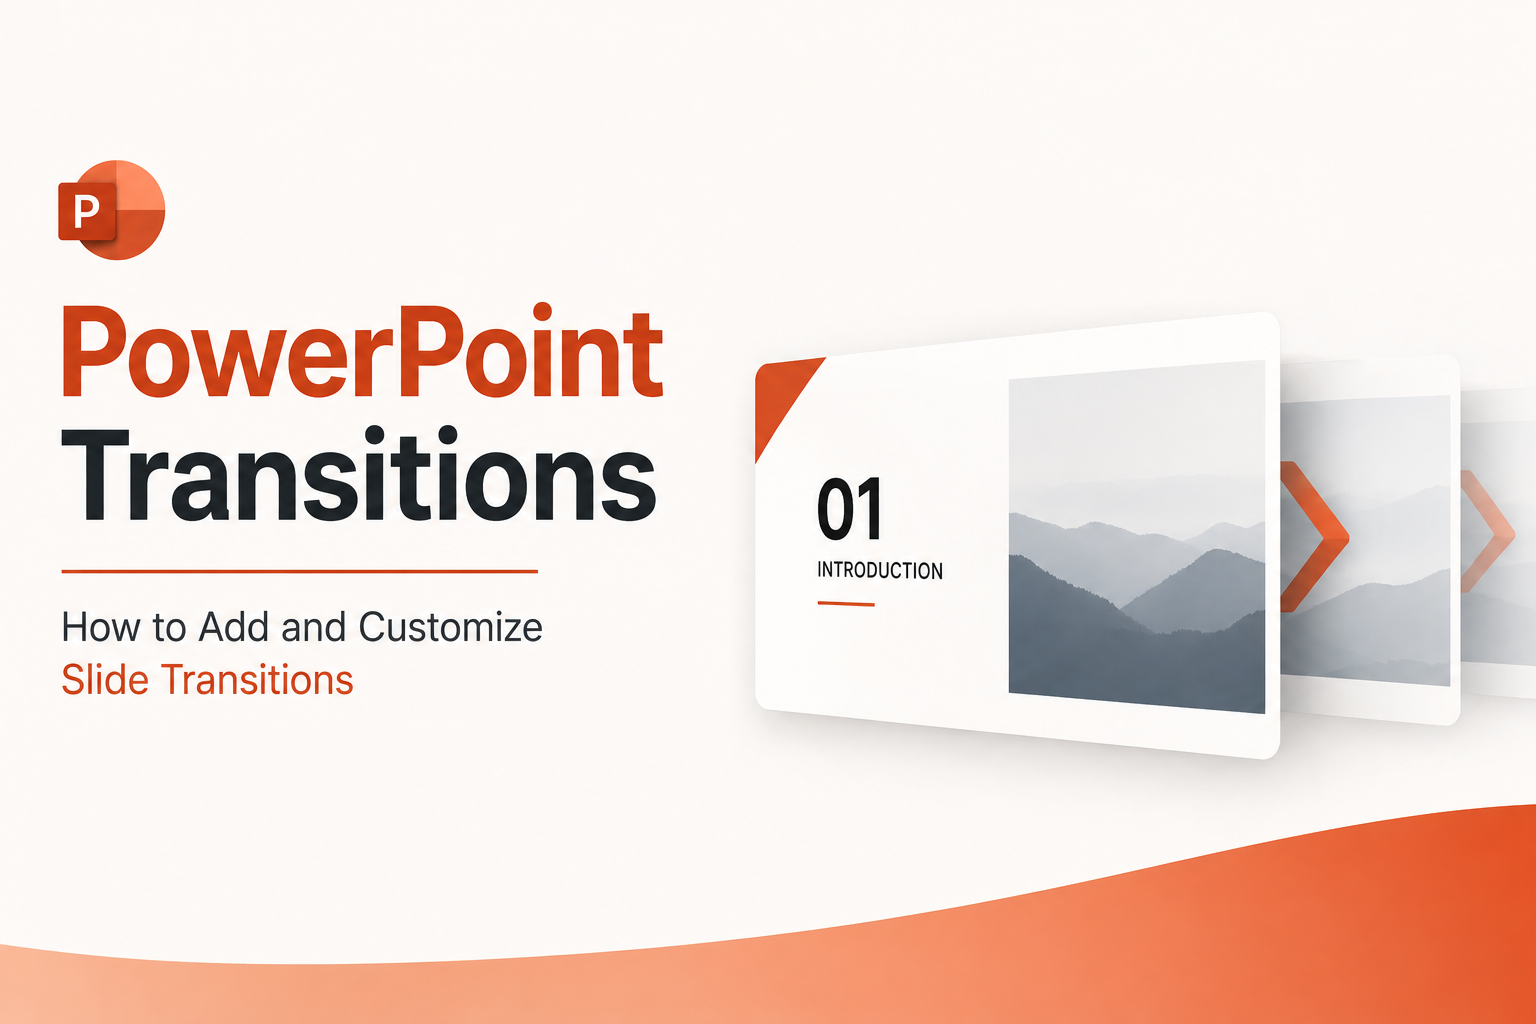


Slide transitions are the visual effects that play when you move from one slide to the next during a presentation. Used well, they add polish and help guide your audience’s attention. Used carelessly, they turn a professional deck into a distraction. This guide walks through exactly how to add, customize, and manage transitions in PowerPoint, along with practical advice on choosing the right ones.
What Are Slide Transitions?
A transition controls how the current slide exits and how the next slide enters. It’s different from an animation, which affects individual elements like text or images within a single slide. Transitions apply to the movement between slides, while animations apply to objects on a slide.
PowerPoint groups transitions into three categories:
- Subtle – simple, understated effects like Fade, Push, Wipe, and Cut. These work well for most business and professional presentations because they don’t pull focus away from the content.
- Exciting – more dramatic effects such as 3D flips, orbits, and cube rotations. These suit creative pitches, portfolios, or presentations where visual flair is part of the message.
- Dynamic Content – effects that animate only the content placeholders while keeping the slide background or master elements static, creating a sense of continuity between slides.include Pan, Reveal, and Object-based Dynamic Content transitions. These work well when you want to maintain a consistent slide layout while smoothly shifting the focus to new content.
How to Add a Transition
- Open your presentation and select the slide you want to apply a transition to. The transition you choose controls how that slide enters, not how it exits.
- Click the Transitions tab on the ribbon, located between the Design and Animations tabs.
- Browse the Transition gallery and hover over any thumbnail to preview it directly on your slide.
- Click a transition style to apply it. A small star icon will appear beside the slide thumbnail in the slide panel, indicating that a transition has been assigned.
- Repeat this process for other slides, using the same or different transitions as needed.
To apply a transition to multiple slides at once, hold Ctrl while selecting the slides in the slide panel, then choose your transition.
Customizing a Transition
Once a transition is applied, you can fine-tune how it behaves using the options grouped on the Transitions tab.
Effect Options
Click Effect Options to change the direction or variation of the selected transition. The choices available here depend on which transition you picked. A Wipe, for example, might let you choose whether it enters from the left, right, top, or bottom, while a Push might only offer directional options along one axis.
Duration
In the Timing group, the Duration field controls how fast or slow the transition plays. A higher number slows the effect down, while a lower number speeds it up. For most professional presentations, keeping transitions between 0.5 and 1.5 seconds feels smooth without dragging.
Advance Slide Settings
Still in the Timing group, you can decide whether a slide advances On Mouse Click or automatically After a set number of seconds. Both options can be selected together, which is useful for presentations that run unattended, such as kiosk displays or looping showcase decks.
Sound
The Sound dropdown in the Timing group lets you play an audio cue during the transition. PowerPoint includes several built-in sounds, or you can select Other Sound to add a custom .wav file. Sound effects are rarely necessary for business presentations and are best reserved for specific creative use cases.
Apply to All
If you want a single transition style applied consistently across the entire presentation, click Apply To All on the Transitions tab. This is the fastest way to keep a deck visually cohesive.
The Morph Transition
Morph is a more advanced transition available in PowerPoint that creates a smooth animated movement between two slides containing similar objects. Instead of a hard cut or fade, Morph analyzes matching elements between the current slide and the next, then animates their size, position, and rotation to create a fluid motion effect. It works best when you duplicate a slide, move or resize an object on the copy, and then apply Morph between the two, making it ideal for zoom effects, map call-outs, or step-by-step reveals.
Removing a Transition
To remove a transition from a slide, select that slide, go to the Transitions tab, and click None in the Transition gallery. Keep in mind that a transition determines how a slide enters and how the previous slide exits, so removing the entrance effect from one slide does not remove the exit effect assigned by the transition on the following slide.
Previewing Transitions
You can preview a transition at any time by clicking Preview on the Transitions tab, which plays the effect without starting a full slideshow. To see how transitions look in the actual presentation flow, switch to Slide Show mode using F5 to start from the beginning or Shift+F5 to start from the current slide.
Best Practices for Using Transitions
- Stay consistent. Mixing too many different transition styles in one deck feels chaotic. Pick one or two effects and apply them throughout.
- Favor subtle over flashy. Fade, Push, and Wipe read as professional in most business contexts. Save 3D and Exciting-category transitions for presentations where visual impact is the goal.
- Keep durations short. Long, slow transitions can make a presentation feel sluggish, especially in fast-paced talks.
- Use transitions to support meaning, not decorate. A transition can reinforce a shift in topic or a new section, but it shouldn’t be the reason a slide changes.
- Test on the actual presenting device. Some transitions, especially 3D and Morph effects, can render differently depending on hardware, so always preview on the machine you’ll use to present.
Final Thoughts
Slide transitions are a small detail with an outsized effect on how polished a presentation feels. Once you know where the controls live and what each setting does, adding and customizing transitions takes only seconds per slide. Start with a subtle, consistent style across your deck, then reach for Morph or an Exciting-category transition only when the content genuinely calls for extra visual movement.


What Is the Purpose of Brainstorming During the Development of an Action Plan? 5 Strategic Benefits Explained
Every great result starts long before the first task is assigned or the first deadline is set. It begins with a single question, a blank whiteboard, and a team willing to voice ideas freely that’s where real planning starts: with brainstorming. Yet many teams skip this step, eager to jump straight into execution. That rush almost always costs them later. So,…
How to Make a Link Clickable in PowerPoint and Google Slides
You’ve built a solid presentation. The slides look great, the content flows well and then someone in the audience clicks on what they think is a link, and nothing happens. It’s a small moment, but it can quietly undermine your credibility.Adding clickable links to your presentation is one of those things that feels optional until…
What Is a Multimedia Presentation and Why Does It Matter in 2026?
Picture two slide decks. One is plain text, slide after slide, in the same gray bullet format you’ve seen a hundred times. The other has a short product clip, a clean chart, and a quick voice note from a happy customer. The second one sticks with you days later, and the first one doesn’t. That…