

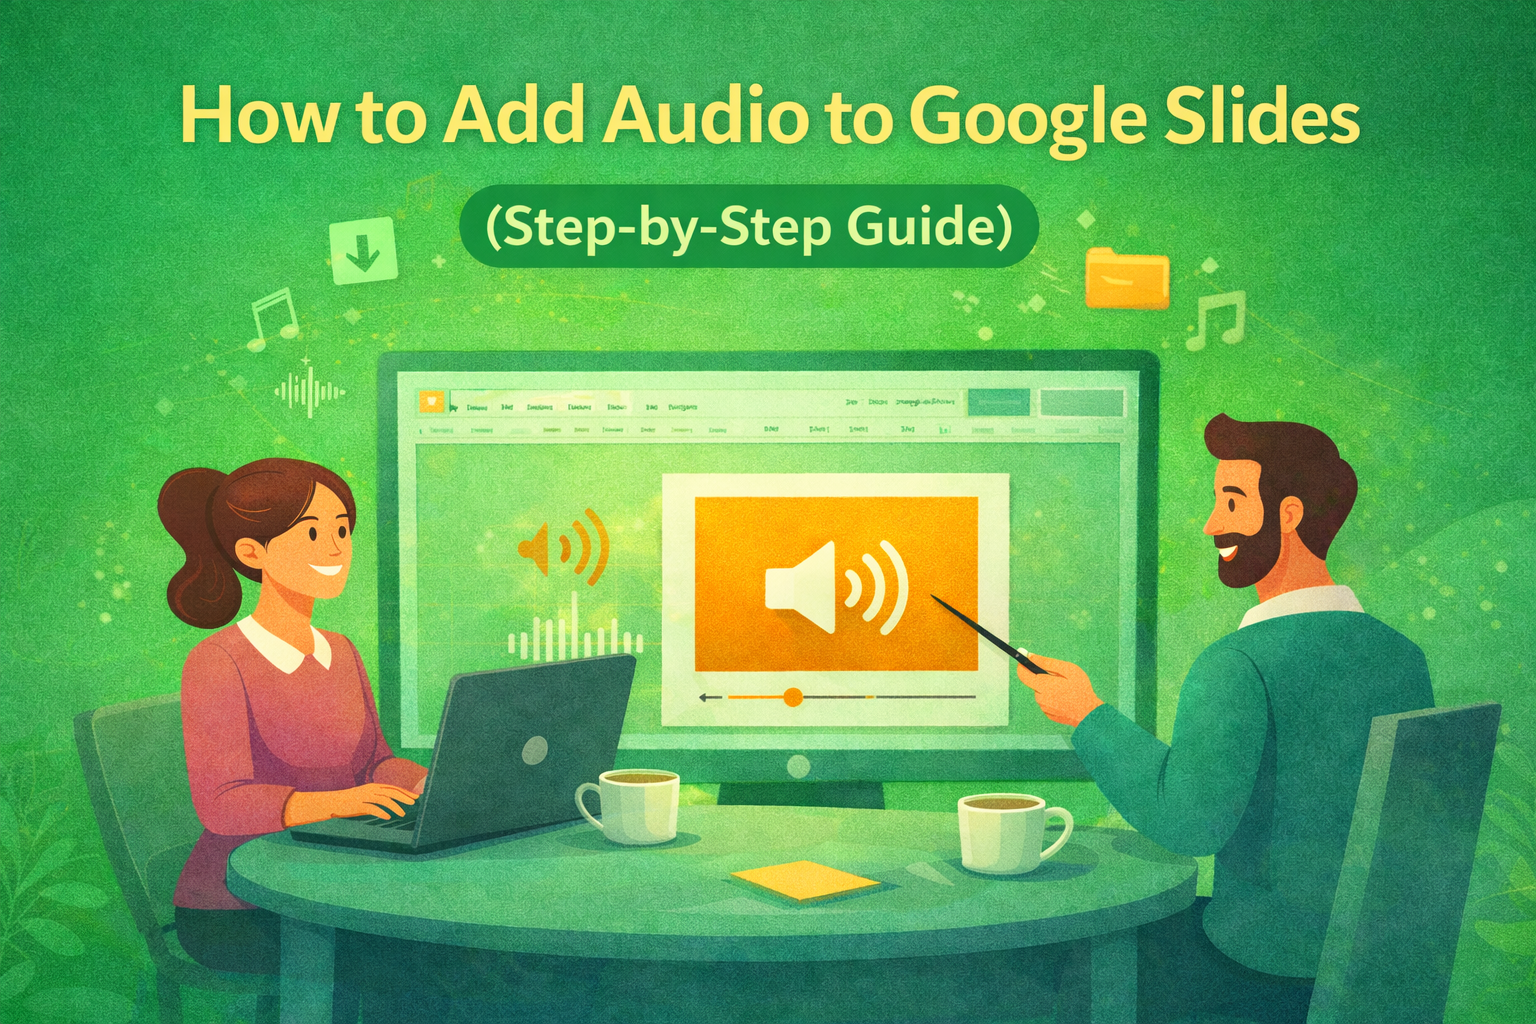
How to Add Audio to Google Slides (Step-by-Step Guide)
How to insert audio into google slides
Want to make your presentation more engaging? Adding audio to your slides – whether it’s a voiceover narration, background music, or a sound effect – can turn a flat deck into a memorable experience. In this guide, the SlidesDepot team walks you through exactly how to add audio to Google Slides, step by step, with tips to help you get it right the first time.
Whether you’re a student creating a narrated school project, an educator building an asynchronous lesson, a marketer crafting a product demo, or a professional preparing a self-running presentation – this guide covers everything you need.
What You Need Before You Start
Google Slides does not allow you to record audio directly inside the platform. Instead, it works by inserting audio files that are already stored in Google Drive. Before you begin, make sure you have:
– A Google account with access to Google Drive and Google Slides.
– An audio file in MP3 or WAV format ready to upload.
– If you need to record audio first, free tools like Audacity (desktop) or Online Voice Recorder (browser-based) work great.
– The audio file uploaded to your Google Drive – this is required before it can be inserted into Slides.
Note: Google Slides only supports audio files stored in Google Drive. You cannot insert audio directly from your computer or from an external URL.
Step 1: Upload Your Audio File to Google Drive
Before you can add audio to a slide, your file needs to live in Google Drive. Here’s how to upload it:
1. Go to Google Drive: Open drive.google.com and sign in to your Google account.
2. Upload the file: Click ‘+ New’ then ‘File upload’ and select your MP3 or WAV audio file. You can also drag and drop the file directly into the Drive window.
3. Wait for the upload: A progress bar will appear at the bottom-right corner. Once it says ‘Upload complete,’ your file is ready to use.
4. Check file permissions: If you plan to share your presentation, right-click the audio file in Drive, click ‘Share,’ and change access to ‘Anyone with the link’ so viewers can hear the audio when the deck is shared.
Step 2: Insert Audio into Your Google Slides Presentation
With your audio file in Google Drive, you’re ready to insert it into your presentation.
1. Open your presentation: Go to slides.google.com and open the presentation you want to add audio to.
2. Select the slide: In the slide panel on the left, click the slide where you want the audio to appear or begin playing.
3. Go to Insert then Audio: In the top menu bar, click ‘Insert’ then select ‘Audio’ from the dropdown menu.
4. Find your audio file: A dialog box will open showing your Google Drive files. Use the search bar or browse to find the audio file you uploaded, then click on it to select it.
5. Click Select: The audio file will be inserted onto your slide as a speaker icon. You can drag this icon to reposition it anywhere on the slide.
Step 3: Customize Your Audio Playback Options
Once the audio is inserted, you can control exactly how and when it plays. Click the speaker icon on your slide to select it, then click ‘Format options’ in the toolbar. The Audio playback panel will open on the right with these key settings:
- Play on click – Audio plays when the icon is clicked. Best for manual narration or on-demand sound effects.
- Play automatically – Audio starts as soon as the slide appears. Best for background music and self-running presentations.
- Loop audio – Repeats the audio until the slide changes. Best for ambient background music.
- Hide icon – Makes the speaker icon invisible during the presentation. Best for keeping slides clean and distraction-free.
- Stop on slide change – Audio stops when you move to the next slide. Best for slide-specific narration.
- Volume – Lets you adjust the playback level. Useful for balancing narration against background music.
Pro Tips for Adding Audio to Google Slides
- Keep audio files small. Compress MP3 files to around 128 kbps or lower to prevent slow loading times during your presentation.
- Use separate audio files for each slide. Instead of one long recording, add individual clips per slide so you can control narration timing more easily.
- Check sharing permissions. Before sharing your presentation, confirm that each audio file in Google Drive is set to “Anyone with the link can view.” Otherwise, your audience may not hear the audio.
- Lower background music volume. Setting music to about 20–30% volume helps ensure it supports your presentation without overpowering narration or slide content.
- Test before presenting. Enter Slideshow mode and go through every slide to confirm that all audio files play correctly.
- Use a well-designed template. A clean, professional slide layout can make your presentation feel more polished and engaging. Platforms like SlidesDepot offer a wide collection of free and premium Google Slides templates designed for students, educators, marketers, and business professionals.
Make Your Presentation Look as Good as It Sounds
Audio alone won’t save a poorly designed presentation. SlidesDepot offers hundreds of free and premium Google Slides templates for every use case from classroom lessons and business pitches to creative portfolios and marketing decks. Each template is fully editable and works smoothly with Google Slides audio features. Visit SlidesDepot.com to find a great starting point for your next presentation.
Troubleshooting: Audio Not Working?
If your audio isn’t playing as expected, run through these common fixes:
Audio doesn’t play for viewers: This is the most common issue. Open Google Drive, right-click your audio file, click Share, and change the access to ‘Anyone with the link can view.’ You need to do this for every audio file used in the presentation.
No Audio option in the Insert menu: The Insert Audio option only appears in the desktop browser version of Google Slides. The mobile app does not support audio insertion – switch to a desktop browser to access this feature.
Audio plays in edit mode but not during the presentation: Make sure you click ‘Present’ to enter Slideshow mode. Some playback settings only activate during the live presentation, not while you are editing.
Speaker icon is missing: The icon may have been dragged off the visible slide area. Check the slide in edit mode and look near the edges for the icon.
Audio cuts out mid-slide: Your file may be too large or your internet connection may be slow. Compress the audio file and re-upload it to Google Drive.
Final Thoughts
Adding audio to Google Slides is a straightforward process once you understand the workflow. Upload your file to Google Drive, insert it into your slide, and fine-tune the playback settings. The result is a richer, more engaging presentation that holds your audience’s attention far better than silent slides ever could.
For best results, pair your audio with a well-designed presentation. SlidesDepot is your go-to resource for Google Slides templates built for every occasion – clean, professional, and fully compatible with all of Google Slides’ features including audio. Whether you’re building a school project, a business pitch, or a creative portfolio, you’ll find the right template at SlidesDepot.
Can I record audio directly in Google Slides?
No. Google Slides does not have a built-in audio recorder. You need to record your audio using a separate tool such as Audacity, GarageBand, or Online Voice Recorder, save it as an MP3 or WAV file, upload it to Google Drive, and then insert it into your slide.
What audio formats does Google Slides support?
Google Slides supports MP3 and WAV audio files. MP3 is recommended because it produces smaller file sizes while maintaining good audio quality.
Can I add background music to all slides at once?
Not natively. Google Slides does not have a built-in setting to play one audio track across all slides. The most common workaround is to insert the audio on the first slide, set it to ‘Play automatically,’ and uncheck ‘Stop on slide change.’ This allows the audio to keep playing as you advance through the presentation.
Will audio play when I share the presentation as a link?
Yes, as long as the audio file’s sharing permissions in Google Drive are set to ‘Anyone with the link.’ If the permissions are restricted, viewers will not hear any audio.
Where can I find free audio and music for my presentation?
Free royalty-free music and sound effects are available from sites like Free Music Archive, ccMixter, and YouTube Audio Library. Always check the license terms before using any audio in a public presentation.

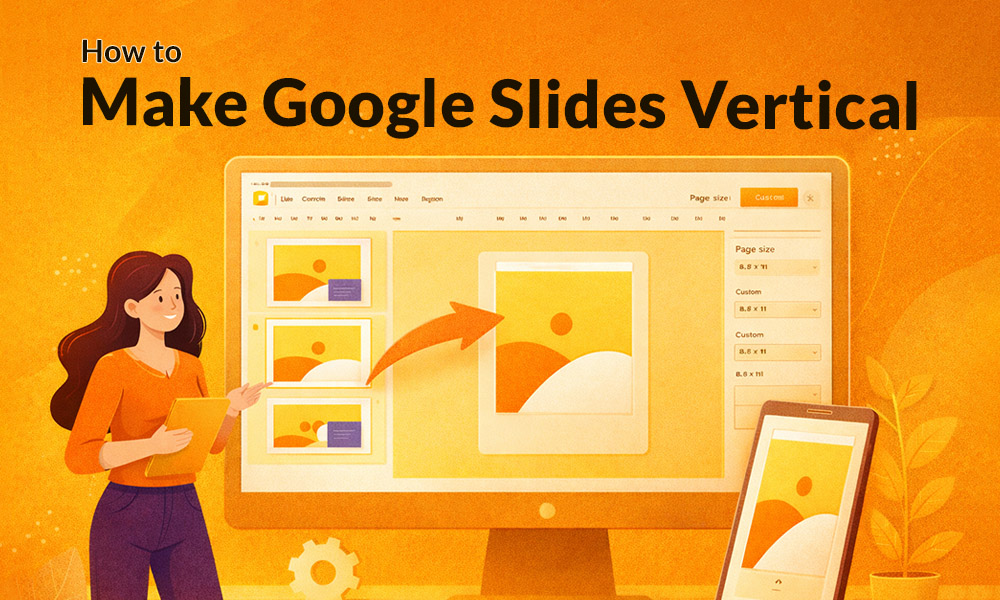
How to Make Google Slides Vertical (Portrait Mode) – Step-by-Step Guide
Google Slides is one of the most popular presentation tools in the world, but it has one quirk that trips up a lot of users: it defaults to landscape (horizontal) mode. If you’ve ever tried to create a poster, resume, infographic, social media graphic, or flyer in Google Slides and felt frustrated by the horizontal layout, you’re not alone. The…

How to Make a Link Clickable in PowerPoint and Google Slides
You’ve built a solid presentation. The slides look great, the content flows well and then someone in the audience clicks on what they think is a link, and nothing happens. It’s a small moment, but it can quietly undermine your credibility.Adding clickable links to your presentation is one of those things that feels optional until…
Best Canva Alternatives for Professional Presentation Templates
Canva is everywhere. It is the go-to design tool for millions of people, and for good reason. It is accessible, fast, and covers an enormous range of use cases. But when it comes to professional presentations, it starts to show its limits. The templates can feel generic, exporting to PowerPoint is notoriously messy, and the…