
How to Make Google Slides Vertical (Portrait Mode) – Step-by-Step Guide
Google Slides is one of the most popular presentation tools in the world, but it has one quirk that trips up a lot of users: it defaults to landscape (horizontal) mode. If you’ve ever tried to create a poster, resume, infographic, social media graphic, or flyer in Google Slides and felt frustrated by the horizontal layout, you’re not alone.
The good news? Switching Google Slides to vertical (portrait) mode is surprisingly simple once you know where to look. In this guide, we’ll walk you through exactly how to do it, share the best dimensions for different use cases, and give you pro tips for designing clean, professional vertical layouts.
Why Use Vertical (Portrait) Mode in Google Slides?
Portrait orientation makes more sense than landscape for many types of content. Resumes and CVs follow a traditional top-to-bottom reading format. Posters and flyers are easier to read when displayed on walls. Infographics work better in tall, scrollable formats for data storytelling. Social media graphics Instagram Stories, Pinterest Pins, and TikTok thumbnails are all vertical. Worksheets and handouts match standard paper sizes for printing, and e-books or reports feel more natural in a vertical layout because readers are already accustomed to that format.
How to Make Google Slides Vertical: Step-by-Step Instructions
Follow these simple steps to change your Google Slides orientation from landscape to portrait.
Step 1: Open Your Google Slides Presentation
Go to slides.google.com to open an existing presentation, start fresh by clicking the “+” button, or save time by starting from a professionally designed SlidesDepot template and customizing it to portrait mode. You can change the orientation at any point before or after adding content. That said, it’s best to set the orientation before you start designing so your layouts don’t get rearranged after the change.
Step 2: Open the “File” Menu
At the top left of your screen, click on File in the main navigation menu. A dropdown menu will appear with several options.
Step 3: Click on “Page Setup”
In the File dropdown, scroll down and click Page setup. This will open a dialog box that controls your slide dimensions and orientation.
Step 4: Select “Custom” from the Dropdown
Inside the Page Setup dialog, you’ll see a dropdown menu that likely says “Widescreen 16:9” the default. Click on that dropdown and select Custom from the list of options.
Step 5: Enter Your Custom Dimensions
Two input fields will appear for width and height. To create a vertical layout, the height must be greater than the width. For a standard portrait presentation, enter a width of 7.5 inches and a height of 10 inches. Make sure the unit of measurement is set to inches using the dropdown next to the fields.
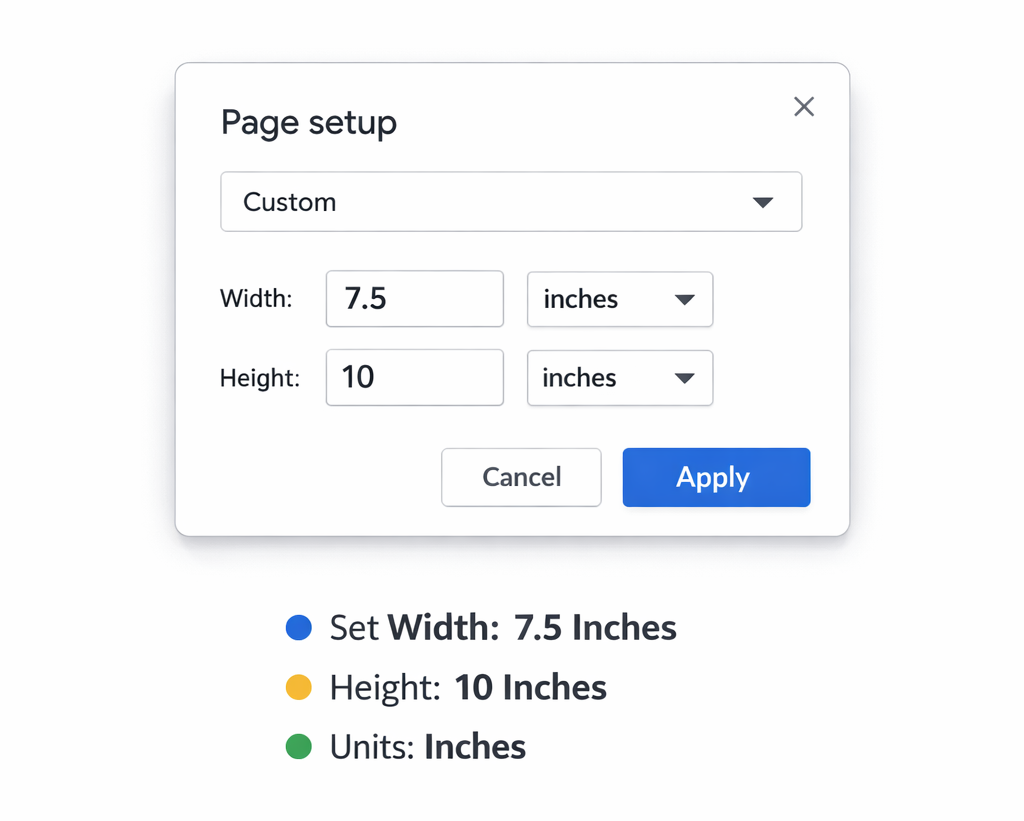
Step 6: Click “Apply”
Once you’ve entered your dimensions, click the blue Apply button. Your slides will instantly switch to portrait (vertical) orientation. Keep in mind that if you already have content on your slides, changing the dimensions may rearrange or resize text boxes, images, and other elements so review each slide after applying to fix any layout shifts.
Best Portrait Dimensions for Different Use Cases
Not all vertical content is the same size. For a standard portrait presentation, a common general-use portrait size of 7.5 × 10 inches works well for general use. If you’re designing for US Letter print resumes, worksheets, handouts use 8.5 × 11 inches. For international documents, A4 is 8.27 × 11.69 inches. Instagram posts work best at a square 3.5 × 3.5 inches, while Instagram Stories follow a 9:16 ratio at roughly 3.94 × 7 inches. Pinterest pins use a 2:3 ratio, so 3.5 × 5.25 inches is the go-to. Large format print posters are typically 24 × 36 inches.
A quick tip: for social media graphics, convert pixel dimensions to inches by dividing by 96 (standard screen DPI). For example, 1080px equals 11.25 inches.
Design Tips for Clean Vertical Layouts in Google Slides
- Switching to portrait mode is just the beginning. Here’s how to make your vertical slides look polished and professional.
- Use generous margins. Avoid placing content too close to the edges. Aim for at least 0.5 to 1 inch of white space on all sides. This keeps your design breathable and easy to read.
- Stick to one or two fonts. With a taller canvas, it’s tempting to cram in more text. Resist that urge. Use one font for headings and another for body text. A clean combination like Montserrat + Open Sans works beautifully for vertical formats.
- Design with sections in mind. Vertical slides are naturally read top to bottom, so break your content into clear sections. Use horizontal rules, colored bands, or spacing to separate each section visually.
- Scale images thoughtfully. Full-width images work great in portrait mode. If you’re using an image as a background or hero image, make sure it’s sized for your exact slide dimensions to avoid stretching or pixelation.
- Align everything on a grid. Use Google Slides’ built-in alignment guides (View > Guides > Show guides) to keep all your elements lined up. Consistency in alignment is what separates amateur designs from professional ones.
- Use contrasting colors. Since vertical layouts often contain more content per slide, a high-contrast color palette helps guide the reader’s eye and maintain visual hierarchy.
Common Mistakes to Avoid
Using landscape images in portrait slides is one of the most common pitfalls. Landscape images will appear stretched or cropped awkwardly, so always use portrait-oriented or square images when possible.
Forgetting to reset your dimensions is another easy mistake. If you duplicate slides from another presentation, check that the dimensions haven’t reverted back to landscape.
Overfilling slides with text is tempting when you suddenly have more vertical space but it hurts readability. Keep it concise and visually balanced.
Applying dimension changes to existing slides without reviewing them afterward can leave your layouts broken. After changing orientation, always scroll through each slide to fix any misaligned elements.
Finally, using the wrong dimensions for your platform is a common source of frustration. Always double-check platform-specific requirements before you start designing, especially for social media.
Final Thoughts
Making Google Slides vertical is a simple but powerful tweak that opens up a whole new world of design possibilities. Whether you’re creating a stunning infographic, a print-ready resume, or an eye-catching social media story, portrait mode gives you the canvas you need.
Just remember: open File > Page Setup > Custom, set your dimensions with the height larger than the width, and click Apply. That’s all it takes.
Explore SlidesDepot’s library of professionally designed, fully editable templates easily customizable to portrait mode for infographics, resumes, and more
Can I mix landscape and portrait slides in the same Google Slides presentation?
Unfortunately, no. Google Slides applies a single page size to all slides in a presentation. If you need both orientations, you’ll need to create two separate files.
Will my vertical slides print correctly?
Yes as long as you set your dimensions to match standard paper sizes (like 8.5 × 11 inches for US Letter or 8.27 × 11.69 for A4). When printing, Google Slides will honor the portrait orientation automatically.
Can I use this method for Google Slides on mobile?
The Page Setup feature is only available in the desktop version of Google Slides via a web browser. The mobile app does not support changing slide dimensions directly.
Does changing to portrait mode affect my fonts and images?
Yes, it can. Text boxes and images may shift or resize when you change the slide dimensions. Always review your slides after making the change and manually adjust any elements that appear out of place.

Presentation Techniques to Engage Your Audience
Creating engaging PowerPoint presentations is a challenge many professionals face. Often, presentations fail not because the ideas are weak, but because slides are cluttered, visually inconsistent, or difficult to follow. This is where strong presentation techniques make a real difference. By combining clear structure, thoughtful visual design, and audience-focused delivery, you can create engaging PowerPoint…

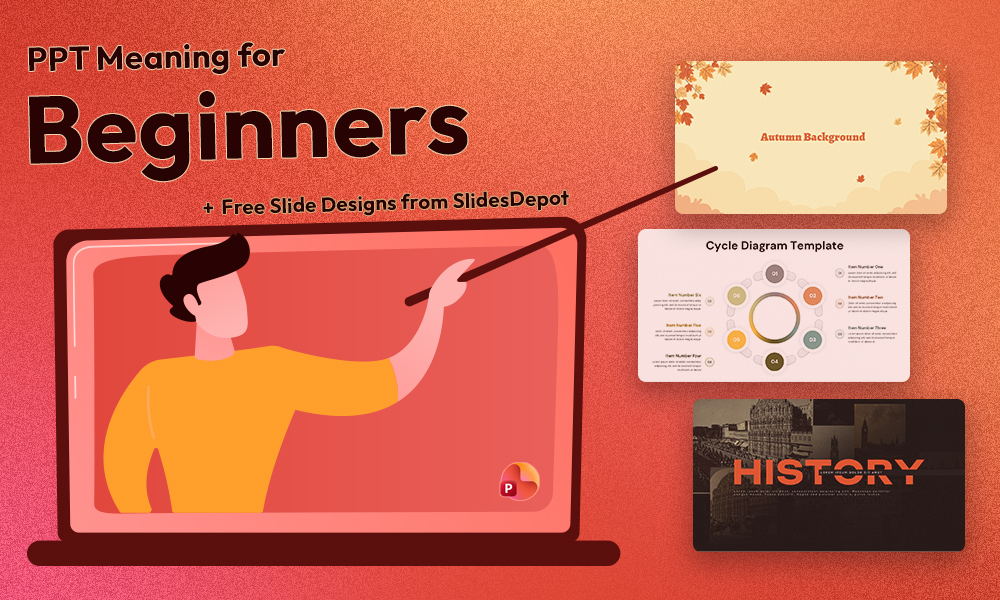
PPT Meaning: Beginner Guide + Free PPT Templates from SlidesDepot
If you’ve ever been asked to create a PPT for school, college, or work, you might wonder what exactly PPT means. For beginners, this confusion is common, especially if you’re new to presentations or digital tools. Understanding the PPT meaning is the first step toward creating clear, organized, and professional presentations. This beginner-friendly guide explains what PPT is, how…
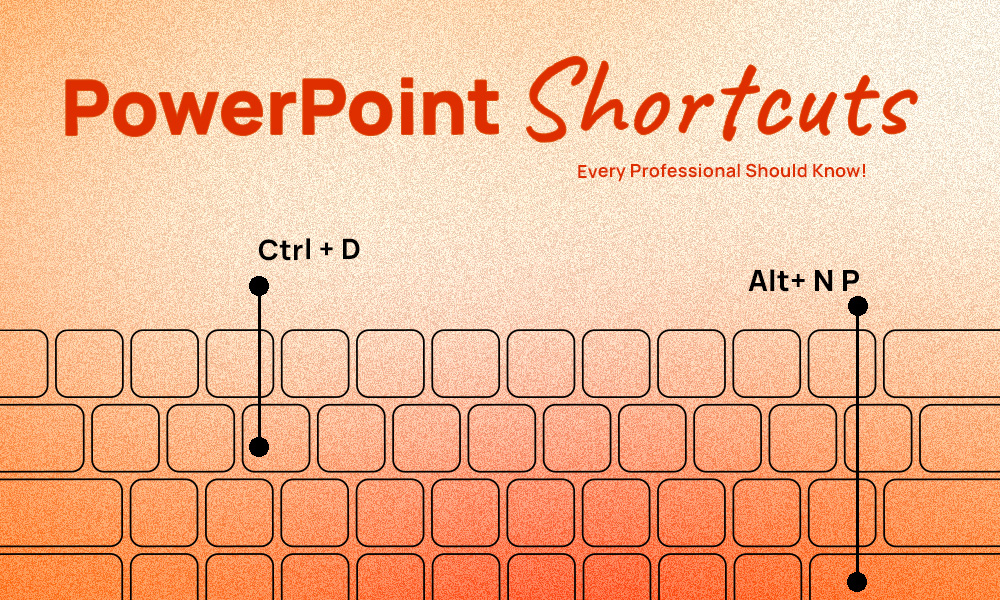
PowerPoint Shortcuts Every Professional Should Know (And Actually Use)
Creating presentations is a core part of many professional roles, yet countless hours are still lost navigating menus, adjusting layouts, and repeating simple actions. One of the most effective ways to work smarter in Microsoft PowerPoint is by mastering essential keyboard shortcuts. The right PowerPoint shortcuts help you build slides faster, keep designs clean and…